Your Cart is Empty
shop


How to Make a Blanket Ladder on the Cheap


What's in this article
How to Make a cheap Blanket Ladder
Here is a great DIY project that gives you free rein on materials, style, and design when crafting your "open-plan" vertical blanket storage ladder.
A blanket ladder is a great space-saver for your home, and the beauty is that it is not only intended for the living room but can be used in almost every room in the house.
Blanket ladders put to good use any open vertical space in a room that serves as a display for your favorite throws and quilts. This provides a neat, aesthetically pleasing storage space that blends in and enhances décor.
There are so many different creative ideas for blanket ladders, and you can literally build your own ladder to complement the décor of the room you have earmarked for the project.
Let's run through a few ideas and look at what styles and materials are best to use.
What is the purpose of a blanket ladder?
Most people will picture a builder's ladder when asked about blanket ladders. They are pretty much on the mark, and although blanket ladders are designed a little differently, they do resemble a conventional ladder in many respects.
Blanket ladders may have fewer rungs and tend to be a little wider than your normal ladder. They are not built to safely take a person's weight and should never be used for that purpose. They rather serve as a place where throws, quilts, or blankets can be hung as a visual vertical storage space.
Blankets, throws, or quilts are usually packed away in a cupboard or in wicker baskets. But as a frequently used item, especially in the colder months, packing them away after use is often not done. Scratching through a basket or cupboard for your "fav" throw is not always pleasant, more so if it's in the wash or someone else nabbed it before you.
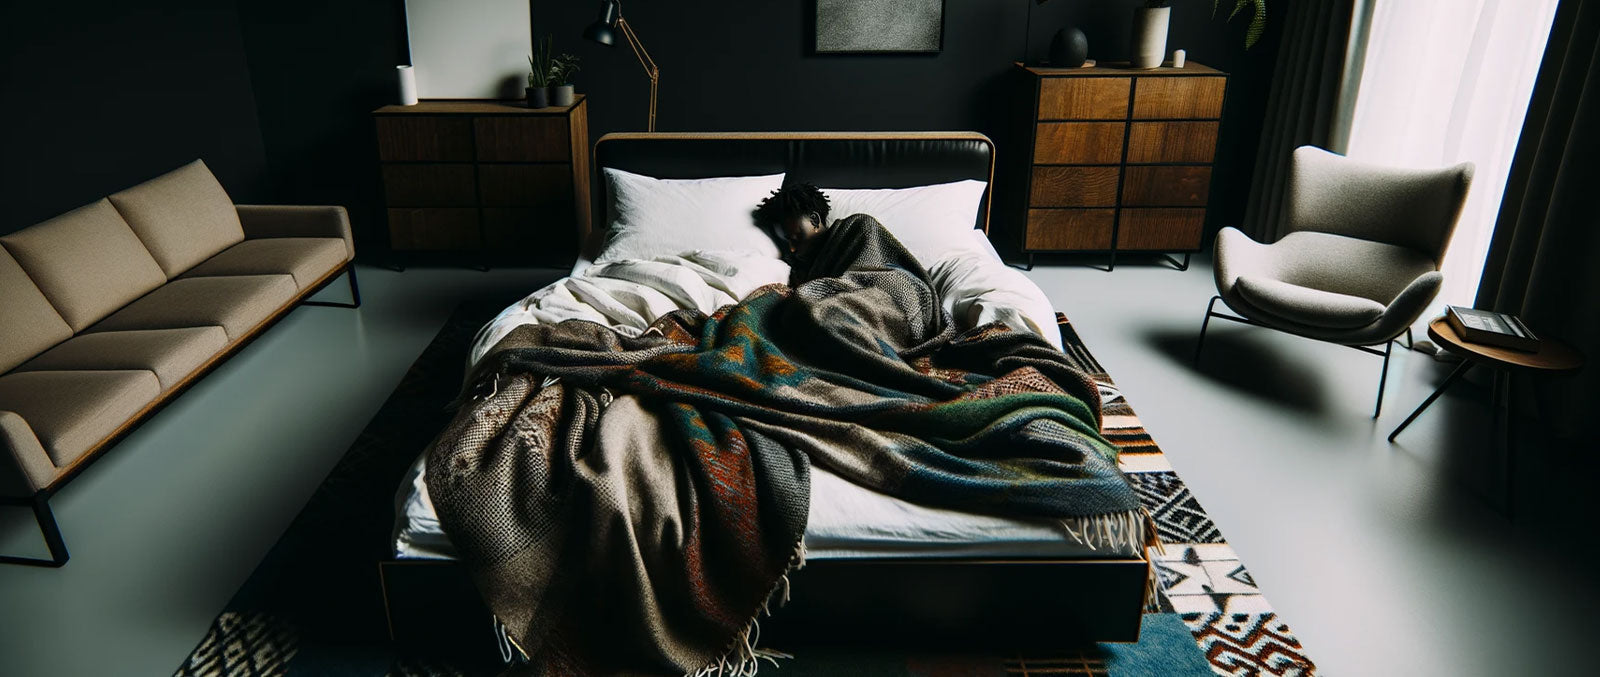
Ladders from a complementary display of your throws where their colors, textures, and design styles come to life in the room. A blanket ladder is also a novel way to avoid your throws simply being abandoned on the floor or on the couch after use. They are easy to fold up and even easier to drape over a rung on your ladder.
Blankets, throws, or quilts are usually packed away in a cupboard or in wicker baskets. But as a frequently used item, packing them away after use is often not done. If they are packed away, you have to contend with scratching through a basket or cupboard for your "fav" throw. Yes, it's not always pleasant, more so if it's in the wash or someone else nabbed it before you.
Your most used throws will be openly displayed on your ladder, and it's so effortless to reach out and grab one to warm your knees with. Besides the easy access, your throws are continuously being aired, so you won't have to deal with that stale odor that creeps into things when tightly packed away for some time.

Leaning, hanging, or mounted?
Blanket ladders can be made to lean against the wall, which allows you to freely move it around. Hanging ladders require an anchor point on the wall, while a mounted ladder requires the same but will need to be secured with more than one or two top anchor points.
Leaning blanket ladders.
A leaning blanket ladder is the easiest one to make, and depending on the height of your ceiling; you will have about four or five rungs evenly spaced between the side supports. The bottom rung should be high enough off the floor to fold your throw over it without touching the floor.
The ladder should typically be about 6 ft (180 cm) high and the rungs about 18 inches (45 cm) wide. The two 6 ft side supports should be cut to a 10-degree angle at the foot of the ladder, so they are flush with the ground. It's important to remember to keep your rungs at the same 10-degree angle, so they are level and flush with the ground.
Instead of measuring the 10-degree angle for every rung, simply use the wedge offcut from the foot of the ladder as your template. Once you have marked the position of your rungs, glue the sides of the rungs, set them in their positions, and secure their place with a few long nails on each side.
Finally, with all the rungs secured in place, you will clamp the ladder at the top and bottom and leave it for about 24 hours for the glue to dry. You will then sand the ladder down and remove any excess dried glue for a better finish.
Now comes the creative part, where you can burn, stain, varnish, or paint your ladder. Once you're done with the base color and texture, you could even add a bit of colored or aluminum trim to the sides, the rungs, or both. It all depends on your creativity, but as a rule, less is more, or simplicity rules. Think about the colors and textures of your throws and quilts to guide you.
Dark stained wood adds a rustic or cottage-style look to your living space with a warm and homely appeal. Lighter shades with that broken whitewashed look also have great appeal. If you go for a smoother or glossy finish, it will change the aesthetics but retain the stylish function of your blanket ladder.
Another great idea is to try your hand at decoupage. By using decoupage, you can actually theme your ladder. For example, you could create a blanket ladder for your little one's blankets and decorate the ladder with their favorite cartoon characters like Paw Patrol or perhaps a Disney Princess theme.

Hanging blanket ladders.
Hanging blanket ladders will be a bit smaller than leaning ladders as they do not usually hang right down to the floor. You can decide whether you want your ladder hanging flush to the wall or with a gap between the wall and ladder. Here are a few pointers to consider when going about creating a hanging blanket ladder:
- Will your anchor point be on the wall or from a wooden ceiling beam? As a space-saver, a wall anchor point is more practical, but if you're not pressed for space, either one will be great.
- You will only have one or two anchor points for the top of your ladder. A seaside weathered rope ladder looks great with a single anchor point. The advantage is that it becomes a practical leveling tool as well. It can also be anchored flush to the wall because the rope makes hanging up your throws easy.
- If you're using solid material like wood or metal for the rungs and sides, there must be enough space between the rungs and wall to easily hang your throws. You can use spacers between the ladder and wall, or you can use thicker sides with the rungs brought forward to create the necessary space.
- You can also combine the materials you use to suit the décor of your home. Think about the ingenuity and creativity invested in camping gear designs with telescopic tent poles that rest in anchor points. If you go this route, your ladder will be adaptable as you will be able to collapse the rungs when not in use. This may appeal to the minimalists among you.
- Have a strong anchor point with enough space or flexibility to easily hang up your throws and quilts. Plan your hanging ladder, and if you can, create a mock-up to see if you're allowing for enough space before you get to the actual build.
Mounted blanket ladders
Mounting a blanket ladder simply means making it a permanent fixture on the wall. You will usually have the top and bottom secured to the wall, but the bottom can also extend to the floor.
Mounted ladders are ideal for towels in the bathroom where space is limited, but they can also be used in other rooms for blankets. Like the hanging ladder, you will need anchor points and enough space to work around the rungs with ease.
Mounted blanket ladders look great when constructed from metal, and here you have a wide choice of finishes from a rusty pipe look to super sleek aluminum or copper.
It's easy to theme a mounted blanket ladder to fit in with the décor of your living area. Wood is also used for mounted ladders and is actually very versatile, with the only limit being your imagination.
The last few words.
If you're thinking about spicing up the décor in your home with blanket ladders, you can either purchase already made ladders or go the inexpensive DIY route. You will be creating a bit more packing space while displaying the beauty of your throw fabrics to add a new dimension and focal point to your living spaces.
Regardless of how you approach a DIY blanket ladder project, you'll be in for a treat and a lot of fun throughout the project. You can go the keep it simple route, or you can really turn on the creative juices and make something truly special.
Like vertical gardens are catching on, so too are blanket ladders as a décor fixture that brings color, texture, and warmth to your home. Put your free time (compliments of the Covid-19 pandemic) to good use and create something new and exciting, like a blanket ladder that is not only for throws and quilts but can be used for any display items that complement the theme of that space.